Shoe charts can display US, UK, European, centimeter, and foot-length values together. It is tempting to treat them as interchangeable translations of one exact measurement. They are not always presented that way. Before measuring your feet, identify what the particular chart asks you to measure and which column it tells you to use.
Nike's men's footwear chart, for example, explicitly distinguishes its CM label value from the foot-length measurement. That makes a useful general point: a number beside centimeters on a shoe label should not automatically be read as the length of the foot it fits. Follow the chart's own headings rather than using a conversion remembered from another brand.
Establish the measurement method
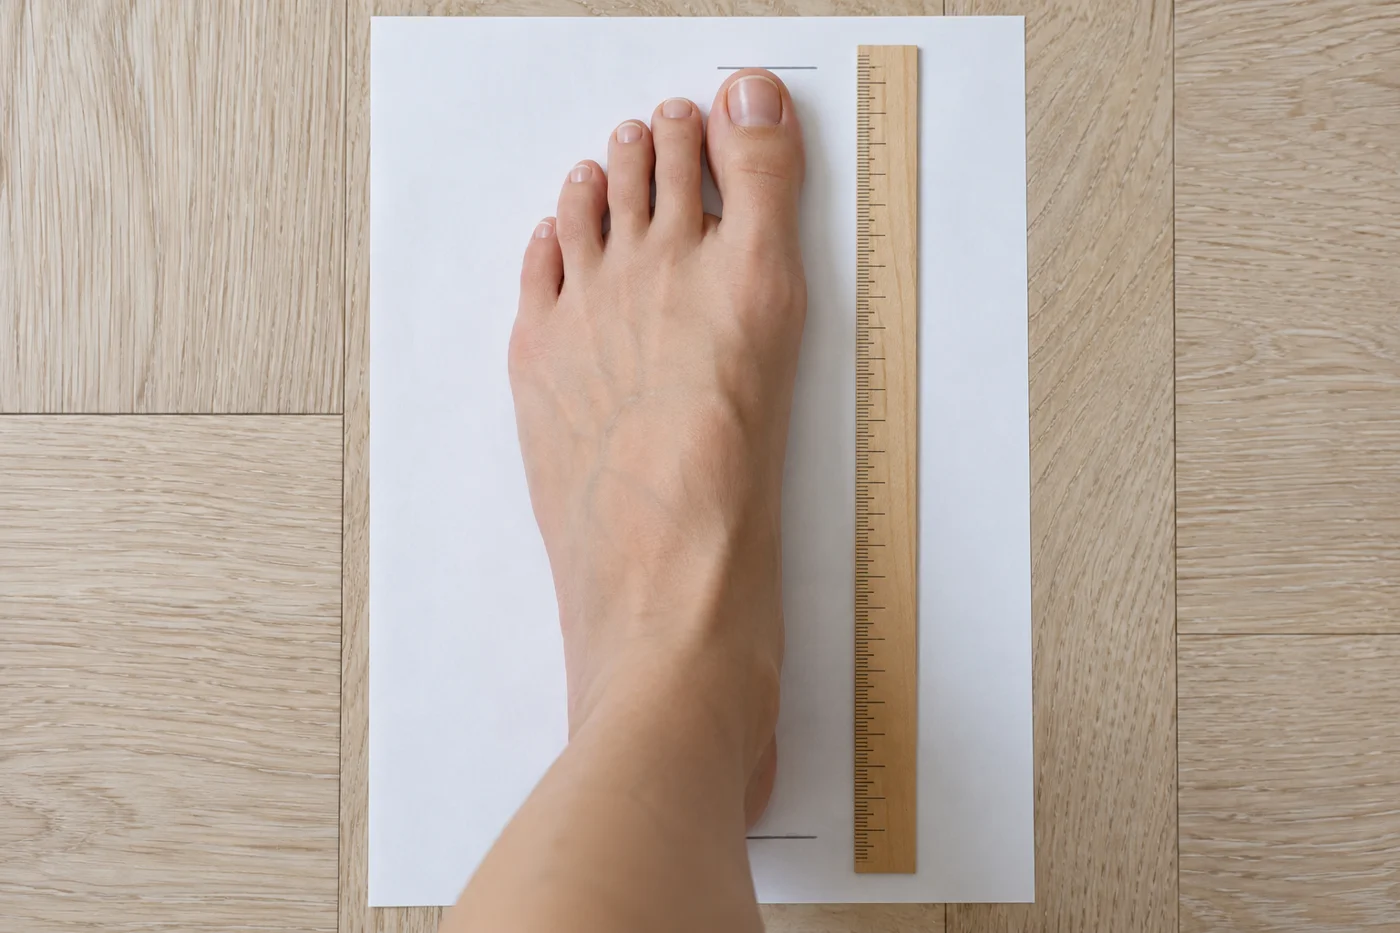
Read the instructions before drawing a line around your foot. The maker may ask for a standing measurement on paper, a printable tool, or another method. Follow that method consistently. A tracing made while seated and a measurement taken with weight on the foot can differ, so mixing methods makes comparisons less useful.
If using a printable tool, check the required print scale and calibration mark. A page shrunk to fit the printer can make every measurement wrong while still looking professionally formatted. If the tool includes instructions about paper size or assembly, those are part of the measuring process.
Measure both feet and record the results with the units. Do not assume that the foot you measured last year is the only reference you need. If the two results differ, follow the maker's guidance about which one to use. The chart remains a starting point for fitting, not proof that both feet will feel identical in the shoe.
Do not add allowances twice
Some shoppers measure their foot and then add an arbitrary amount before looking at a chart. That can create an error if the chart already converts the actual foot measurement into a suitable shoe size. Use the measurement as instructed rather than inserting a universal allowance that the maker did not request.
The same caution applies to rounding. A chart may specify what to do between sizes. Follow that direction for the particular range, then verify the result by trying the shoe. Do not transfer a rule from a different model simply because both are sneakers.
Record enough precision to compare sensibly, but avoid false certainty. A hand measurement can vary with pencil angle, tape position, or posture. If the result is close to a boundary, repeat it carefully rather than treating the first line as exact. A second measurement can reveal a simple handling error.
Length does not describe the whole foot
Even an accurate foot length leaves out width, instep volume, toe shape, and heel shape. A chart that maps length to a size cannot establish how all those features will fit. Read any width information and model-specific notes provided, then assess the actual shoe with the socks you will wear.
Try both shoes on a clean surface. Check toe space, pressure across the upper, and heel security during ordinary movement. If the recommended length crowds the sides, a different width or model may be more useful than automatically increasing length. If the heel slips, do not assume a smaller size is safe without checking the front.
For an online order, keep the measurement note, the chart used, and the model name together. This helps explain why a particular size was chosen and makes a later comparison more precise. Review the return conditions before ordering, especially if you are between options.
A chart is most useful when treated as a clearly defined instruction, not a universal conversion table. Measure what it asks, use the column it names, and let the actual fit confirm or challenge the recommendation.